Homemade Brown Sugar: Your Ultimate Guide to Light vs. Dark, Ratios & Storage
Imagine this: You're halfway through a beloved cookie recipe, the butter is creamed, the flour measured, and then you reach for the brown sugar… only to find an empty bag or a rock-hard brick. It's a common baking dilemma that can stop your culinary adventures dead in their tracks. But what if we told you there's a simple, five-minute solution hiding in your pantry? Learning
how to make brown sugar at home isn't just a convenient hack; it's a game-changer for your baking, offering superior flavor, freshness, and control.
Forget the days of running to the store or chiseling away at a hardened block. This comprehensive guide will walk you through everything you need to know about making light and dark brown sugar from scratch. We’ll delve into the simple science, exact ratios, optimal storage techniques, and even share some expert tips to ensure your homemade brown sugar is always soft, flavorful, and ready for your next culinary masterpiece. Get ready to elevate your kitchen game and impress everyone with your newfound skill!
Why Ditch Store-Bought? The Unbeatable Advantages of Homemade Brown Sugar
While store-bought brown sugar is readily available,
making brown sugar at home offers a plethora of benefits that store-bought options simply can't match. Understanding these advantages will undoubtedly convince you that a few minutes in the kitchen are well worth it.
*
Always Soft, Never Hard: One of the most frustrating aspects of commercial brown sugar is its tendency to dry out and harden into an unusable brick. This processing often involves drying and anti-clumping agents. Homemade brown sugar, by contrast, is naturally moist and soft, thanks to its fresh molasses content. It retains its perfect texture for much longer when stored correctly, meaning no more last-minute emergencies or aggressive chiseling.
*
Superior Flavor Intensity: Store-bought brown sugar can sometimes taste one-note or even a bit artificial due to processing. When you learn
how to make brown sugar, you get to experience its true, rich flavor. The fresh molasses delivers a deeper, more pronounced caramel note that translates beautifully into your baked goods, sauces, and glazes. The difference is palpable, especially in recipes where brown sugar is a key ingredient, like chocolate chip cookies or banana bread.
*
You Control the Ingredients: Ever read the ingredient list on a package of brown sugar? Sometimes you’ll find anti-caking agents or other additives. Homemade brown sugar is simply two ingredients: white granulated sugar and molasses. That’s it! This purity means you’re serving your family and friends a product free from preservatives, giving you peace of mind and a healthier alternative.
*
Cost-Effective and Convenient: It's often cheaper to buy granulated sugar and molasses separately than it is to buy pre-packaged brown sugar, especially if you bake frequently. Beyond the savings, the convenience factor is immense. Being able to whip up a batch of brown sugar in minutes means you'll
Never Run Out: Make Homemade Brown Sugar in 5 Minutes, eliminating those frustrating mid-recipe pauses and saving you an extra trip to the grocery store.
The Simple Science: Understanding Light vs. Dark Brown Sugar
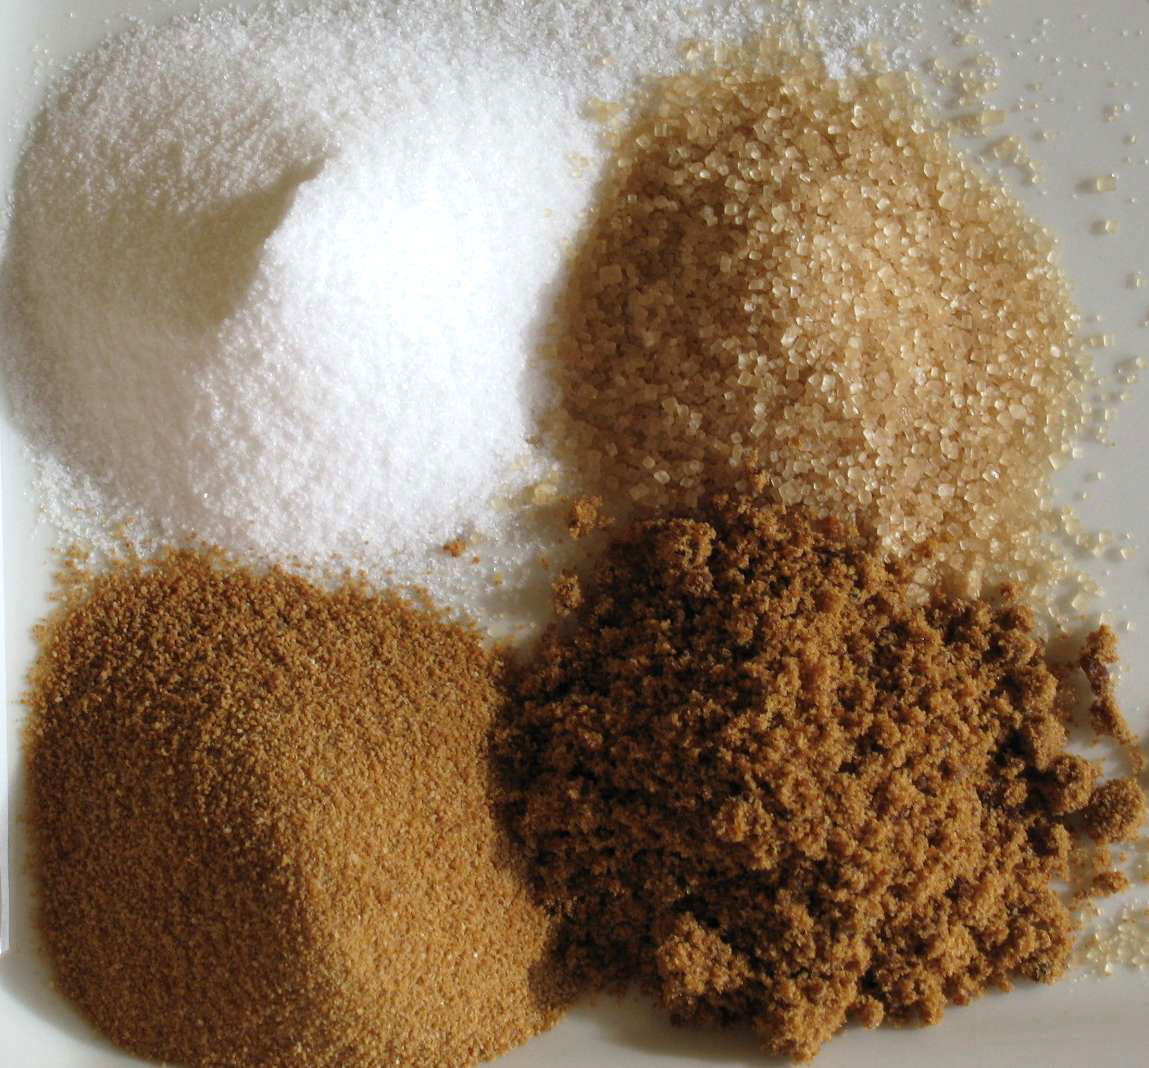
At its core, brown sugar is nothing more than granulated white sugar infused with molasses. The magic lies in the molasses, a thick, dark syrup that is a byproduct of the sugar refining process. The quantity of molasses is the sole determinant of whether your brown sugar is light or dark, directly impacting its flavor and moisture content.
* **Light Brown Sugar:** This variety contains less molasses, giving it a milder caramel flavor and a lighter color. It's incredibly versatile and widely used in everyday baking where a subtle sweetness and tender crumb are desired, such as in delicate cookies, muffins, and quick breads. The ideal ratio for achieving perfect light brown sugar at home is:
*
1 cup granulated white sugar
*
1 tablespoon molasses
* **Dark Brown Sugar:** With a higher concentration of molasses, dark brown sugar boasts a much deeper, richer, and more robust flavor profile. Its taste is more intense, with strong notes of toffee and a slight bitterness, making it perfect for recipes that benefit from a bolder sweetness and a chewier texture. Think gingerbread, BBQ sauces, glazes, and rich chocolate desserts. To make dark brown sugar, use:
*
1 cup granulated white sugar
*
2 tablespoons molasses
When choosing your molasses, opt for
unsulfured molasses. Sulfured molasses contains sulfur dioxide, which can impart a slightly metallic or bitter taste. Unsulfured molasses, often labeled "light" or "dark" (referring to the molasses itself, not the resulting brown sugar), is generally preferred for its purer, sweeter flavor. Avoid blackstrap molasses unless you specifically desire a very strong, somewhat bitter, and highly mineral-rich flavor, which can overpower many standard recipes. While blackstrap is fantastic for certain health applications or specific savory dishes, it's not typically recommended for common baking where a more balanced sweetness is desired.
Your Toolkit & Techniques: Two Easy Ways to Make Brown Sugar
One of the best things about learning
how to make brown sugar is its simplicity. You don't need fancy equipment, and it literally takes minutes. We'll explore two tried-and-true methods, allowing you to choose the best one for your kitchen and preferences.
Method 1: The Food Processor (For the Best Texture)
If you own a food processor, this method is your secret weapon for achieving the most consistent and perfectly soft brown sugar every time. The blades of the food processor work quickly and efficiently to distribute the molasses evenly, ensuring a superior texture.
1.
Combine Ingredients: Add your granulated white sugar and the appropriate amount of molasses (1 tbsp for light, 2 tbsp for dark) directly into the bowl of your food processor.
2.
Blend: Secure the lid and process for 30 to 60 seconds. You'll want to watch it carefully. Initially, the mixture might look clumpy, but as it processes, the molasses will be incorporated throughout the sugar crystals.
3.
Scrape and Re-blend (if needed): If you see molasses clinging to the sides or bottom, stop the processor, scrape down the bowl with a spatula, and continue blending for another 10-15 seconds until the sugar is uniformly colored and has a soft, moist, sand-like consistency.
4.
Immediate Use or Store: Your homemade brown sugar is now ready to use or store. This method truly helps you
Unlock Better Baking: Easy DIY Brown Sugar with 2 Ingredients and a little power tool.
Method 2: Bowl & Fork (No Special Equipment Needed)
Don't have a food processor? No problem! This method proves that you don't need any special gadgets to make delicious brown sugar at home. It might require a little more elbow grease, but the results are just as satisfying.
1.
Combine Ingredients: In a medium-sized mixing bowl, add your granulated white sugar and the desired amount of molasses.
2.
Mash and Stir: Begin mashing and stirring the mixture with a sturdy fork. The molasses will initially be resistant to mixing, creating sticky clumps.
3.
Break Up Clumps: Keep working the mixture, pressing the back of the fork against any sticky clumps to break them apart and distribute the molasses. It takes a few minutes of consistent effort.
4.
Achieve Consistency: Continue mashing and stirring until the entire batch of sugar has a uniform color and texture, free from large clumps of molasses. It should feel slightly sticky and moist – that's perfect! It will loosen up slightly as it sits.
Regardless of the method you choose, the key is thorough mixing. Uneven distribution of molasses will lead to inconsistent flavor and texture.
Storing Your Homemade Sweetness & Troubleshooting Tips
Now that you've mastered
how to make brown sugar, proper storage is crucial to maintain its superior texture and freshness.
*
Airtight is Key: Store your homemade brown sugar in an airtight container at room temperature. This prevents moisture loss, which is what causes store-bought brown sugar to harden. A glass jar with a tight-fitting lid, a plastic container with a gasket seal, or even a heavy-duty zip-top bag with all the air pressed out will work perfectly.
*
Shelf Life: Stored correctly, homemade brown sugar will stay fresh and soft for several months, often longer than its store-bought counterpart.
*
Rehydrating Dry Sugar: If, over time, your homemade brown sugar starts to dry out slightly (which is less common than with commercial sugar but can happen), don't despair! Simply stir in a few drops of fresh molasses and mix thoroughly with a fork until it regains its soft consistency. Alternatively, place a slice of bread, a few apple wedges, or a terracotta brown sugar saver in the container for a day or two to reintroduce moisture.
Common Troubleshooting Questions:
*
"My sugar is clumpy, is that normal?" Yes, absolutely! Homemade brown sugar is naturally moist, and a certain degree of clumpiness is perfectly normal, especially immediately after making it. Simply break up any large clumps with a fork or your fingers before measuring for your recipes.
*
"Can I substitute homemade brown sugar 1:1 in recipes?" Yes! Homemade brown sugar is a direct, cup-for-cup replacement for store-bought light or dark brown sugar in any recipe. Its enhanced flavor will only make your dishes better.
*
"What if I don't have molasses?" While the core definition of brown sugar relies on molasses, if you're in a pinch and don't have any, alternatives like honey or maple syrup can be used with white sugar to create a *sweetener* with a similar color. However, be aware that these will significantly alter the flavor profile and potentially the texture of your final product. For true brown sugar flavor and consistency, molasses is essential.
Conclusion
Learning
how to make brown sugar at home is a simple yet incredibly rewarding kitchen skill. It's a quick, easy, and cost-effective way to ensure you always have fresh, soft, and richly flavored brown sugar on hand. From the perfect chewiness in your chocolate chip cookies to the deep, complex notes in your BBQ glazes, homemade brown sugar elevates every dish it touches. So, the next time you find yourself staring at an empty bag, remember that with just two pantry staples and a few minutes, you can conjure up your own superior brown sugar. Give it a try – your taste buds, and your baking, will thank you!